How to Read a Fish Finder for Beginners
Ever found yourself out on the water in New Jersey, staring at a vast expanse of lake or ocean, wondering what mysteries lie beneath your boat? It’s a common frustration for anglers, feeling like you’re fishing blind, casting into the unknown. This comprehensive guide is here to demystify one of the most powerful tools in an angler’s arsenal: the fish finder. We’ll break down how to read a fish finder for beginners, turning that confusing screen into a window into the underwater world.
The Basics of Your Fish Finder: What's Under the Hood?
Stepping into the world of fish finders can feel a bit like learning a new language. You see a screen with lines, colors, and shapes, and it’s easy to get overwhelmed. But at its core, a fish finder is simply a tool that uses sound to paint a picture of what’s below your boat. Understanding the fundamental components and how they work together is the first step to unlocking its potential.
Understanding the Transducer and Sonar Waves
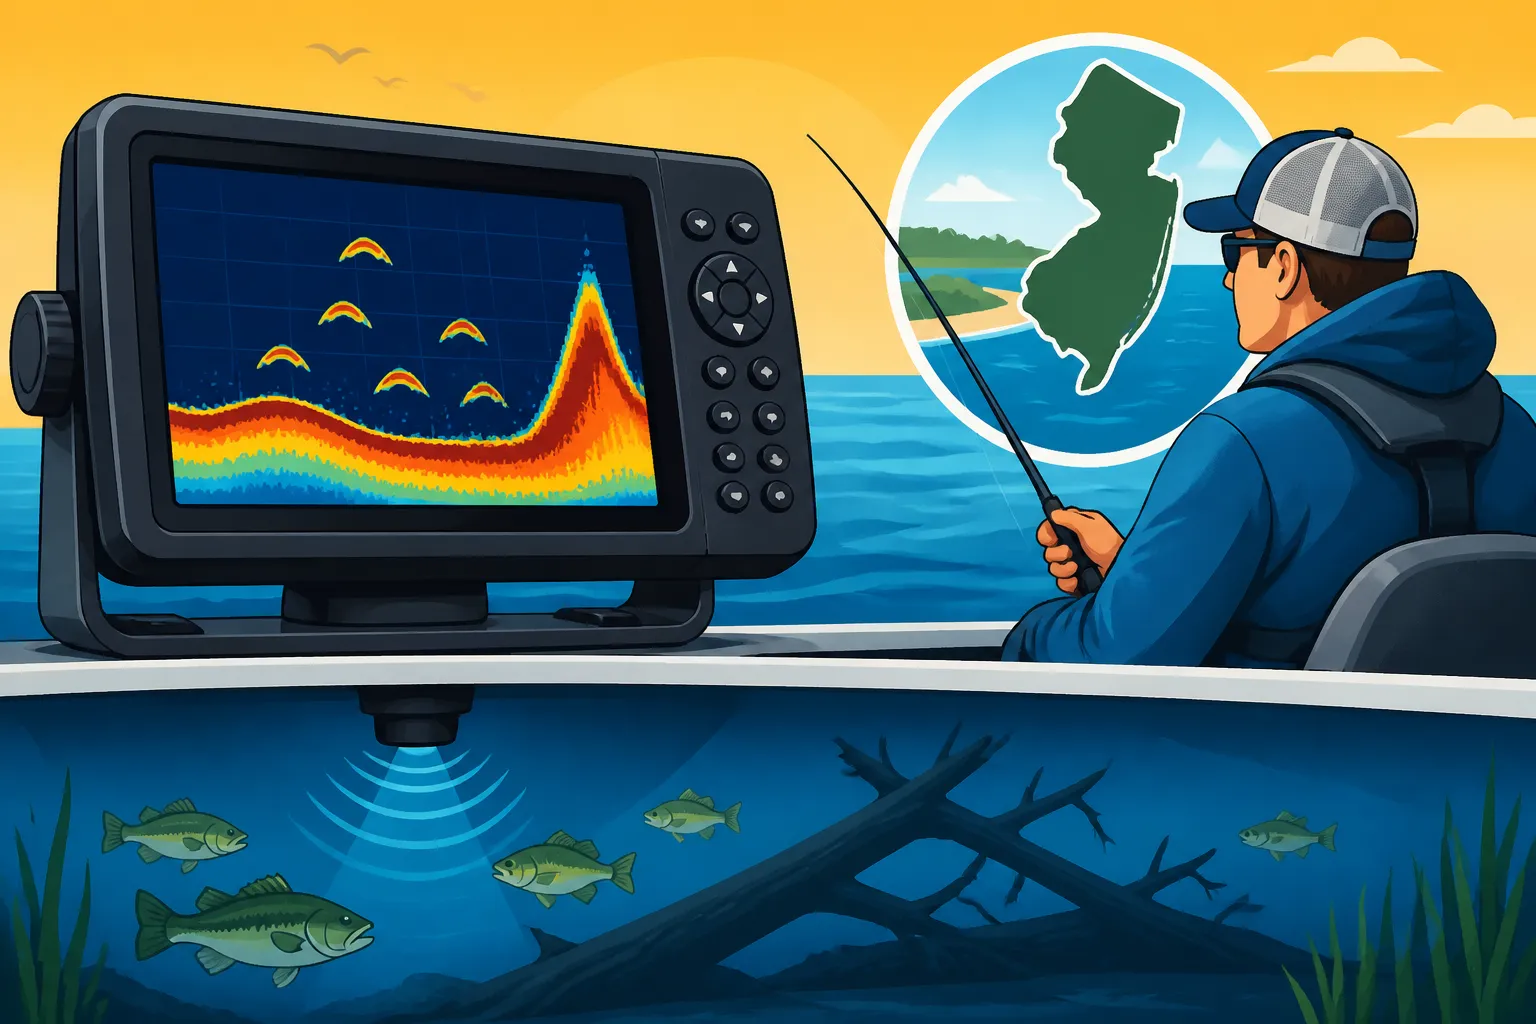
Every fish finder relies on a transducer, which is essentially the eyes and ears of your system. This little device, typically mounted on your boat's transom, hull, or trolling motor, sends out pulses of sound energy—these are your sonar waves. Think of it like shouting into a canyon and waiting for an echo. When these sound waves hit something underwater, whether it’s the bottom, a submerged log, a school of baitfish, or even a trophy striped bass, they bounce back. The transducer then "hears" these echoes.
The fish finder unit itself calculates how long it took for the sound wave to travel down, hit something, and return. Since sound travels at a known speed in water, the unit can precisely determine the distance to the object. It does this constantly, many times per second, building up a continuous picture of the underwater landscape as your boat moves. It’s a remarkable bit of technology that, once you grasp the concept, makes interpreting the screen much more intuitive. It’s like having x-ray vision into the murky depths!
Decoding the Display: What All Those Colors Mean
When you look at a modern fish finder display, you're often greeted with a vibrant palette of colors, or sometimes a sharp monochrome image. These colors aren't just for aesthetics; they’re packed with crucial information. On a color display, different hues typically represent the strength of the sonar return signal. Stronger returns—meaning denser objects or objects closer to the center of the sonar cone—are usually displayed in warmer colors like red or yellow. Weaker returns, from softer objects or those on the edge of the cone, might appear in cooler colors like blue or green.
For instance, a hard, rocky bottom might show up as a thick, bright red line, indicating a very strong signal return. A school of small baitfish might appear as a soft, hazy cloud of greens and blues, signifying many weaker returns. Screen resolution also plays a huge role; a higher-resolution screen will give you a much clearer, more detailed image, making it easier to distinguish between different types of underwater features. Many anglers, myself included, spend a good amount of time customizing their color palettes to find what works best for their eyes and the specific waters they’re fishing. You can find some fantastic models with crystal-clear displays on Amazon, often with user reviews that can help you understand real-world performance.
Interpreting the Visuals: What's on Your Screen?
Now that we know how the sound waves are generated and displayed, let's dive into what those lines, arches, and blobs actually mean. This is where the magic happens, turning abstract graphics into actionable information for your New Jersey fishing adventures.
Reading the Bottom Line and Structure
The most consistent feature on any fish finder display is the bottom line. This line represents the lakebed, river bottom, or ocean floor beneath your boat. Its appearance tells you a lot. A thick, hard, bright line often indicates a hard bottom, like rock, gravel, or packed sand. This is great news, as hard bottoms often hold more forage and, consequently, more fish. Conversely, a thinner, fainter, or softer-looking line suggests a softer bottom, such as mud or silt. While not always devoid of fish, softer bottoms may not concentrate them as effectively.
Beyond the basic thickness, pay close attention to the contours of the bottom. You’re looking for "structure" – anything that creates a change in the underwater landscape. Ledges, humps, drop-offs, and submerged channels are classic fish magnets. In saltwater, you might spot wrecks or artificial reefs, which are prime locations for species like black sea bass. Understanding these structural elements is paramount for success, as fish naturally gravitate towards them for ambush points, shelter, or feeding opportunities. For example, knowing how to interpret these structures is crucial when exploring New Jersey Artificial Reef Fishing Guide. A fish finder gives you the power to "see" these hidden features, allowing you to position your boat and present your bait right where the fish are likely holding.
Identifying Fish Arches, Marks, and Bait Schools
This is often what beginners are most excited to see: actual fish! On a traditional 2D sonar display, individual fish often appear as arches. This arch shape is created because the fish enters the sonar cone, is detected, moves through the cone, and then exits. The longer it's in the cone, the more complete the arch. A small, fast-moving fish might only show a partial arch or a simple line, while a larger, slower-moving fish directly under the transducer could create a perfect, thick arch. The size and thickness of the arch often correlate to the size of the fish.
However, not every mark is a perfect arch, and that's okay. Sometimes you'll see just lines or blobs, especially if the fish is on the edge of the cone or your boat is moving very fast. Don't dismiss these! What’s often more important than individual fish arches, especially for saltwater anglers, is identifying schools of baitfish. These appear as dense, irregular clouds or masses on your screen. When you see these bait balls, you know predator fish are likely nearby, looking for a meal. Understanding what bait fish saltwater gamefish feed on will help you connect these visual cues to what species you might be targeting. Knowing how to differentiate between large individual fish marks and these baitfish clouds is a game-changer for finding active feeding zones.
Understanding Water Column Details: Thermoclines and Surface Clutter
Your fish finder doesn't just show you fish and the bottom; it also reveals important details about the water column itself. One crucial feature is a thermocline. In many lakes and deeper freshwater reservoirs, distinct layers of water with different temperatures form, especially during warmer months. A thermocline appears as a noticeable, often fuzzy, horizontal line across your screen. This thermal barrier can concentrate fish, as certain species prefer specific water temperatures or oxygen levels found above or below it. Monitoring this can be vital for Trout Survival Through Summer in New Jersey Lakes or when seeking the Best Water Temperature for Striped Bass Fishing.
Another common sight, particularly in shallower water or when there's a lot of surface chop, is "surface clutter." This appears as a band of noise and interference near the top of your screen. It's caused by tiny air bubbles, debris, and turbulence in the uppermost water layers reflecting sonar signals. Most modern fish finders have settings to filter this out, but it's important to recognize it so you don't mistake it for a dense school of fish right under your boat! Don't worry, even experienced anglers occasionally get tricked by a particularly dense patch of surface noise.
Adjusting Your Settings for Better Visibility
A fish finder isn't a "set it and forget it" device. To get the most accurate and useful information, you need to understand and tweak its settings. Learning these adjustments will help you fine-tune the display to suit different fishing conditions and target species in New Jersey's diverse waters.
Sensitivity and Gain: Seeing More or Less
The sensitivity, often called "gain," is perhaps the most important setting on your fish finder. It controls how weak or strong of an echo signal your unit will display. Think of it like the volume knob on a radio: too low, and you'll miss faint signals from smaller fish or softer structure; too high, and your screen will be filled with confusing clutter and noise, making it impossible to distinguish real targets.
The key is to find the "sweet spot." A good starting point is to increase the sensitivity until you see a little bit of noise or faint lines on the screen, then back it off just slightly. This ensures you're picking up as much detail as possible without overdoing it. You'll need to adjust this frequently based on water conditions. For example, in clear, deep water, you might be able to run higher sensitivity. In shallower, murky waters or when you're fishing after a heavy rain, which can cause How to Fish Muddy Water After Heavy Rain, you'll likely need to reduce it to cut through the interference. Don't be afraid to experiment with this setting throughout your fishing day.
Range and Zoom: Focusing on What Matters
The "range" setting determines the total depth area your fish finder displays. If you're fishing in 20 feet of water, setting your range to 100 feet means 80% of your screen is showing water you're not even in, making all the relevant details appear small and compressed. Adjust your range to slightly deeper than your current depth to maximize the usable screen real estate. If you’re in 20 feet, set it to 30 or 40 feet.
Once you’ve set your range, the "zoom" function becomes incredibly powerful. Zoom allows you to magnify a specific section of the water column, making it much easier to see subtle details or identify targets more clearly. For instance, if you're trying to figure out How Deep Do You Need to Fish for Black Sea Bass? and you're seeing marks from 30 to 50 feet, you can zoom in on that specific depth range. This expands those marks across the entire screen, letting you discern whether they are indeed fish, bait, or just debris. Many units offer a "bottom lock" zoom, which keeps the bottom always visible on the screen while magnifying the area directly above it, perfect for picking apart structure.
Frequency Settings: Shallow vs. Deep Water Fishing
Most fish finders offer different sonar frequencies, typically 200 kHz and 50 kHz, or sometimes even more advanced CHIRP options. Understanding when to use each is crucial. High frequencies, like 200 kHz, produce a narrower sonar cone and offer superior detail and resolution. This is ideal for shallow water, identifying individual fish, and distinguishing between tight groups of fish or structure. It’s excellent for pinpointing exactly where that fluke might be lying on a sandy bottom in Barnegat Bay.
Low frequencies, like 50 kHz, produce a wider sonar cone and penetrate deeper water more effectively. While the detail isn't as precise as 200 kHz, it's invaluable for deep-water fishing, covering a larger area beneath the boat to find schools of fish or large structures. If you're out chasing tuna offshore or exploring the deeper sections of New Jersey's Round Valley Reservoir Fishing Guide for lake trout, 50 kHz (or a low-frequency CHIRP) will be your go-to. Some units allow you to run both frequencies simultaneously, giving you the best of both worlds on a split screen.
Practical Tips for New Jersey Anglers
Learning to read a fish finder is an ongoing process, but applying a few practical tips can significantly enhance your success on the water, especially in a state like New Jersey with its diverse fishing opportunities.
Pairing Your Fish Finder with Local Knowledge
A fish finder is an incredible tool, but it's important to remember it’s not a magic wand. It works best when combined with good old-fashioned local knowledge and an understanding of fish behavior. Knowing New Jersey Fishing Season Dates and Closures for the species you’re targeting, what types of structure they prefer, and what bait they’re feeding on will make your fish finder even more effective. For example, if you know striped bass like to hold on ledges during the fall run, your fish finder helps you quickly locate those ledges.
Use your fish finder to confirm your suspicions or explore new areas. If you're fishing a spot known for fluke and your finder shows bait and structure, you're probably in the right zone to drop a How to Tie a Fluke Rig. Similarly, if you’re fishing a freshwater lake for largemouth bass and you see a sudden depth change with some cover, that's where you want to focus your casts. Think of it as your underwater detective, providing clues that you then piece together with your angling expertise. Sometimes, the best deals on fish finders, even entry-level ones perfect for beginners, can be found on Amazon, giving you more budget to spend on tackle.
Speed and Interpretation: Moving vs. Stationary
The way your fish finder displays information changes dramatically based on your boat's speed. When you're moving slowly or drifting, fish and structure marks will appear elongated. A fish that swims slowly through your sonar cone might create a very long, detailed arch. When you're moving quickly, however, the same fish might only appear as a short dash or a partial arch because it passes through the cone very quickly.
It's also crucial to understand that your fish finder display is showing you a historical timeline, not a live snapshot of what's directly beneath your transducer at this very second. The right side of the screen is the most current information, and as new data comes in, the older information scrolls to the left. So, if you see a big fish arch on your screen, it's already a few seconds behind you! You need to anticipate where the fish will be based on your speed and the direction you're heading. If you see a cluster of fish and you want to drop a line on them, remember to account for that slight delay and your boat's momentum.
Common Mistakes and Troubleshooting for Newbies
It’s easy to make mistakes when you’re first learning to read a fish finder, but recognizing them can save you a lot of frustration. One common error is mistaking weeds or submerged vegetation for fish. Dense patches of weeds can often show up as solid, irregular masses, similar to baitfish. The key here is context: if the marks are consistently connected to the bottom and don't seem to move independently, it's likely vegetation.
Another frequent issue stems from transducer placement. If your transducer isn't mounted correctly—too shallow, angled improperly, or in turbulent water—it can lead to poor readings, excessive noise, or even complete loss of signal. Make sure it's clear of obstructions and in smooth water flow. Battery life can also impact performance, so ensure your unit is receiving adequate power. Lastly, don't forget interference. Other electronics on your boat, like trolling motors or even other fish finders if you're on a New Jersey Party Boat vs Private Charter: What's the Difference?, can sometimes cause noise on your screen. Try isolating power sources if you suspect interference. Many helpful accessories, from spare batteries to mounting brackets, are readily available on Amazon to help with these common issues. By being aware of these potential pitfalls, you can troubleshoot effectively and maximize your time fishing, not fiddling with settings.
Disclaimer
This article is for general informational purposes only and does not constitute professional advice. Laws, prices and regulations vary by location and change over time. Consult a qualified professional for guidance on your specific situation.